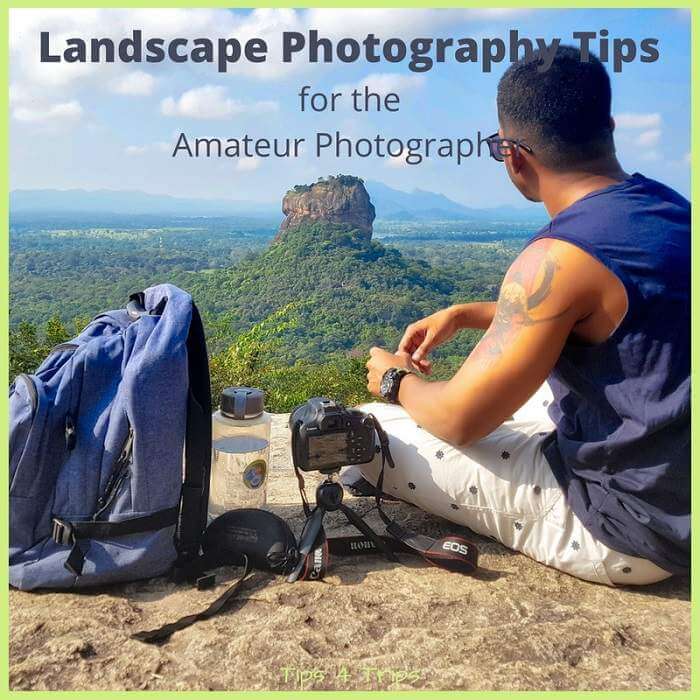
10 Great Travel Landscape Photography Tips for Amateurs
Landscape photography is often the first type of photography that beginners try, but that doesn’t mean it’s an easy option or one that everyone finds a connection to. Landscape photography lends itself very well to travelling, as it doesn’t require complicated lighting gear – all you really need is a camera and a tripod to capture great landscape images. If you have a point-and-shoot compact camera, you can still create beautiful landscape images, and iPhone landscape photography has become very popular too.
For those who get bitten by the landscape photography bug and want to find out ways to improve their images or new techniques to try, these landscape photography tips for beginners aim to fill that gap.
In this Article on Travel Photography Tips for Beginners You Will Learn:
- What gear do you need for landscape photography
- The main camera settings
- What is the best time to take landscape photos
- How camera lens filters can help
- How to compose your landscape shots
- What is long-exposure photography and how you can do it
- The importance of post-processing
Please share this with them.
Pexels image credit
This post by Tips 4 Trips contains affiliate links*. This means I may receive a small commission if you click on these links. Learn more at the bottom of this post.
10 Travel Photography Tips for Beginners
As I am quite an amateur landscape photographer, I have asked Max Therry from Photo Geeky to share with us his top tips for taking great travel landscape photos. Learn more about Max at the end of the post.
1. Using a Tripod
Yes, you can get good shots hand-holding your camera, but only in good light. Once the shutter speed has to drop below around 1/60th second, any tiny movement in your hands will cause blurry, unsharp images. Unless you’re going for a creative, arty look, landscape images should be sharp and clear, and that means using a tripod.
If you want to shoot at night or create smooth, silky water, you will need to use longer exposures of up to a few minutes – a tripod becomes a necessity for these shots. You can even get flexible tripods that can be attached to a tree or for uneven surfaces.
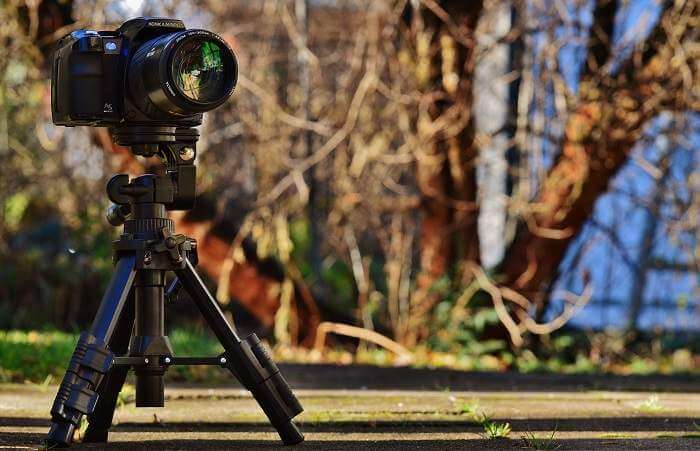
Image credit: Pixabay
Tripods vary wildly in price*, with the professional, very heavy ones going for over 500 pounds, but you can get some inexpensive, lightweight ones that are ideal for travelling. The most important factor in choosing a tripod is stability. To avoid additional blur, consider using a remote shutter release.
2. Shoot RAW Format
Shooting in RAW format is a simple change in the image quality options in your camera controls, but one that can have a massive impact on your images.
RAW files contain all of the information in an image, which is why the file sizes are much larger than JPEGS, which compress and remove some of the data. RAW files will give you much more flexibility during the editing process, and your final image quality will be far superior to one shot as a JPEG.
Modern compact cameras and smartphones usually have an option to shoot in RAW too, so this tip doesn’t just apply to DSLR cameras.
3. Finding the Right Light

Image credit: Rebe Adelaida
Our eyes can adjust instantly to the brightness or contrast of a scene. A camera doesn’t have that capability (yet!). You can fight against harsh light, or you can choose the times of day you shoot wisely.
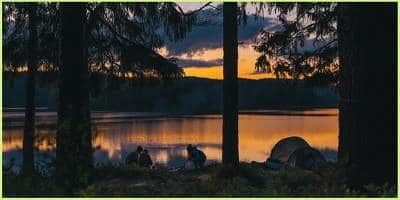
The first hour after sunrise and the hour before sunset are the best times of day to shoot landscapes. The low sun gives a beautiful, golden light that is soft, and shadows and highlights should be less extreme than at other times of the day.
If the sky is cloudy and overcast, you can shoot at any time of day as the clouds act as a natural diffuser for the hard sunlight, so you will get very soft, even light.
4. Settings, Controlling Exposure and HDR
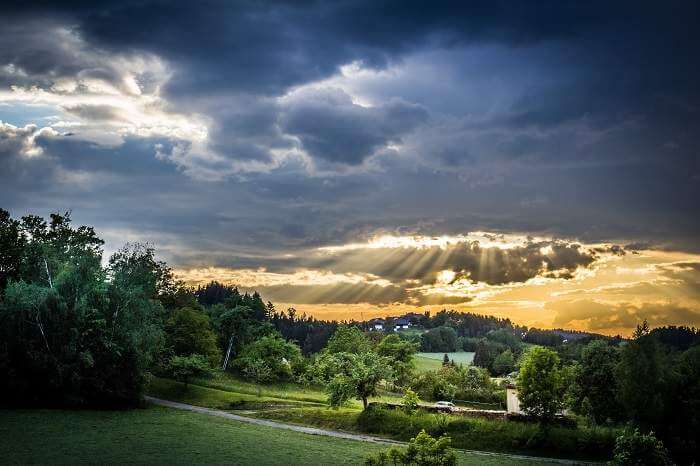
Image credit: Sebastian Pichler
There are too many variables for me to give you exact camera settings for your landscape photography, but here are a few basic pointers.
To get the best out of your landscape photography, you should try coming off fully automatic or ‘Program’ mode on your DSLR or compact. You don’t have to go to full manual control – there are two options here that will help:
- Aperture Priority, or Av mode. This mode is great for normal landscape photography. You set the aperture (which controls how much of your image is in focus) and the camera works out the shutter speed and ISO settings for correct exposure. For landscapes, you usually want it sharp front to back, so a setting of between f/11 and f/22 is usually best.
- Shutter Priority, or TV mode. If you want to freeze movement or do long exposures, use this mode. You choose the shutter speed, and the camera picks the aperture and ISO. To freeze movement, your shutter speed will need to be above 1/250th second and to do long exposures, it will need to go down to around 4 seconds or more.
These two modes will control exposure pretty well for you, but if you go on manual mode you will need to learn how shutter speed, aperture and ISO all work together in something called the “exposure triangle”. If you do learn to go fully manual, you will have greater creative control over your images, so consider learning how.
We have touched briefly on shutter speed and aperture, so I will explain a little about ISO. This camera setting controls how sensitive your sensor becomes to light. ISO 50 or 100 is the lowest setting, so it lets the least amount of light in. ISO can go all the way up to and over 3200 on some cameras, which means your sensor is now very sensitive to the available light.
Upping your ISO in low light situations means you won’t have to drop your shutter speed so much, but there is a drawback to extra ISO – digital noise. The higher your ISO, the lower the image quality. It will be filled with tiny coloured dots at high ISO, giving a ‘noisy’ look. You can reduce it in post-processing, but the best way is never to use a really high ISO, but keep it under 400 and use a tripod and slower shutter speed instead or lower f/number instead.
There is also a technique called HDR. HDR images are three or more photos of the same subject that have been taken at different exposures, and then merged together in specialist HDR software such as Aurora HDR, or you can also do it in Photoshop or Lightroom. The end result is a single image that has more detail in the shadow and highlight areas than one exposure alone could have. Most smartphones have an HDR mode on them if you want to try it too.
5. Filters
You don’t need filters to take great landscape shots, but they can help add colour, depth and contrast to your images. Filters either screw on over your lenses or are held in front of your lenses by a gadget. A polarizing filter is great for cutting down reflections from water, and will give you a rich, blue sky – they are a bit like sunglasses for your camera!
Graduated neutral density (ND grad) filters* help to stop you from overexposing the sky, and ordinary neutral density filters will allow you to take long exposure images during the day without overexposing.
6. Composition
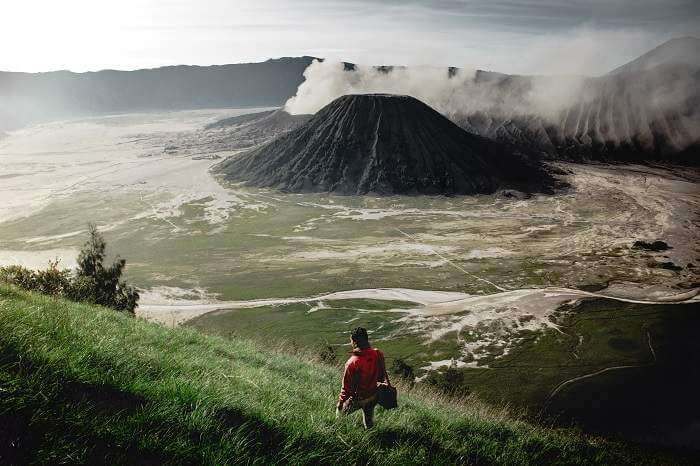
Image credit: Iswanto Arif
It will improve your images a lot if you think a bit about composing your image before you take the shot. Think about where to place the horizon line in the frame instead of putting it dead centre. Most cameras and phones have a ‘rule of thirds’ grid that can be placed over the frame to help with composition. What interests you the most? If it’s the sky, place the horizon line on the lower third gridline, if it’s the landscape, try putting the horizon on the upper third gridline.
Including the foreground in your images (like in the photo above) can add depth and interest. It can also show the scale of your main subject – the images above show the vastness of the landscape next to the man in the foreground.
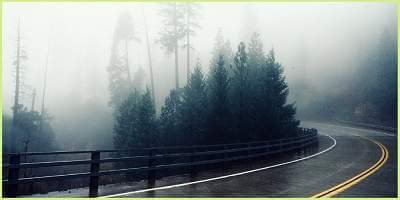
Leading lines in your photo can help draw the viewer’s eye in. The classic one is of a pier or jetty leading out into a lake, but you can make use of other things too, either natural or man-made.

Image credit: Joshua Sortino
7. Keep it Simple
It can be hard deciding what to include in an image, but it can be harder deciding what to keep out!
A viewer looking at your photo should be able to tell what the main subject is, so if in doubt, keep things simple. If you include other elements in your image, they should be there to lead the eye to the main subject or add depth and a sense of dimension. They shouldn’t distract attention from the main attraction, so to speak.
Before you press the shutter, quickly check that there are no unwanted elements in your frame, such as a tree branch invading from the side or top.
8. Take Plenty of Images
The more images you take, the more you will have to choose from when it comes to picking the best for post-processing. Digital images are free (unlike camera film) so it doesn’t matter how many shots you take. Experiment!
9. Long Exposures
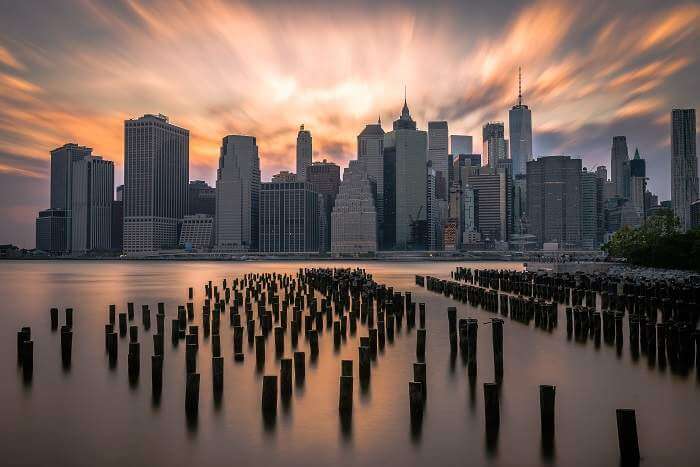
Image credit: Matt Lamers (Unsplash)
If you want to shoot a city scene at night, capture light trails or make a waterfall look silky smooth, you will need to do a long exposure (it is also called “slow shutter speed photography). Set your camera up on a tripod, and use shutter priority mode or manual to choose a shutter speed. This will differ depending on the subject and how dark it is. If unsure, start with a 20 second and adjust up or down from there. (ISO should be set 400 or less, but it depends on your camera native range.)The longer the exposure, for example, the smoother the water will become. If the image is too bright, you can add a neutral density filter or go for an even longer exposure.
10. Post-Processing
Our eyes and a camera see the picture differently, so the chances that the picture on your screen will be just the way you saw it yourself are quite low. All you can do is to make sure that you have the right composition and a variety of shots to choose from, and they spend some time on post-processing your photos. Your images will benefit greatly from post-processing in image editing software, where you should crop, adjust colour and contrast, and exposure. Play with the settings to find ones that are comfortable for your eye and look as natural as possible.
If you’re a beginner and you aren’t already familiar with photo editing, look for a beginner-friendly editor, like Luminar, which has all the tools that professionals, as well as beginners, will need to use. There are also free options like Paint.net or GIMP that have all the necessary features, but might be difficult to navigate.
Hope that this article has inspired you to try out some of the tips and that you are excited to be taking your camera on your travels. Your landscape photography can give a unique sense of place, and you will have images you can look proudly back on in years to come. Enjoy your travels with your camera!
Top Trip Tips: Landscape Photography for Beginners
Thanks to Max for sharing and advising, that as amateurs, we can take great travel landscape photography even with our Smartphone/iPhone or a simple point-and-shoot camera. All we need to do is:
- Add to your trip packing list
- Smartphone/iPhone
- Camera
- Chargers
- Tripod
- Also, ensure you pack these in your day trip bag when heading out on excursions
- Read up on your phone and/or camera settings to learn how to adjust filters and additional settings
- Make use of photo editing software
- For further reading on travel photography check out these books*
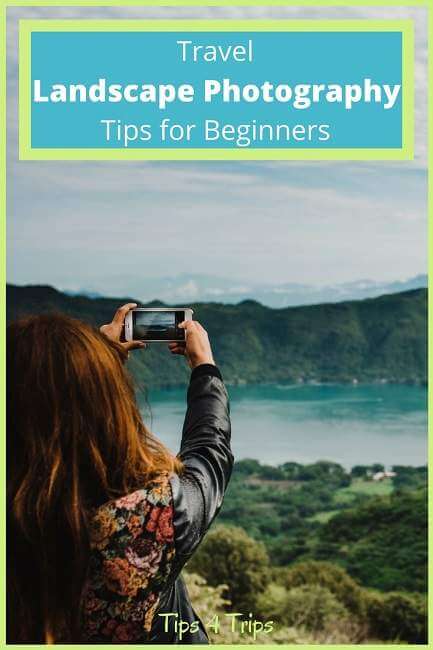
Image Credit Pexels
DISCLOSURE:
- As an Amazon Associate, I earn from qualifying purchases
- Additional Affiliate links* with Book Depository*
- This means I may receive a small commission if you make a purchase using this link, however it does not cost you any extra to purchase through these links.
- For more information please visit my Disclaimer Page and Privacy Policy.